Can I upload candidates in bulk?
You can upload candidates in bulk either at the time of assignment of the assessment(s) or at any time in advance of assignment. Instructions for both options are provided below.
Upload Candidates in Bulk: At Time of Assignment
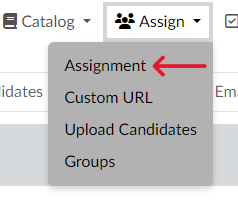
- Click “Assignment” under the “Assign” tab. (Screen 1)
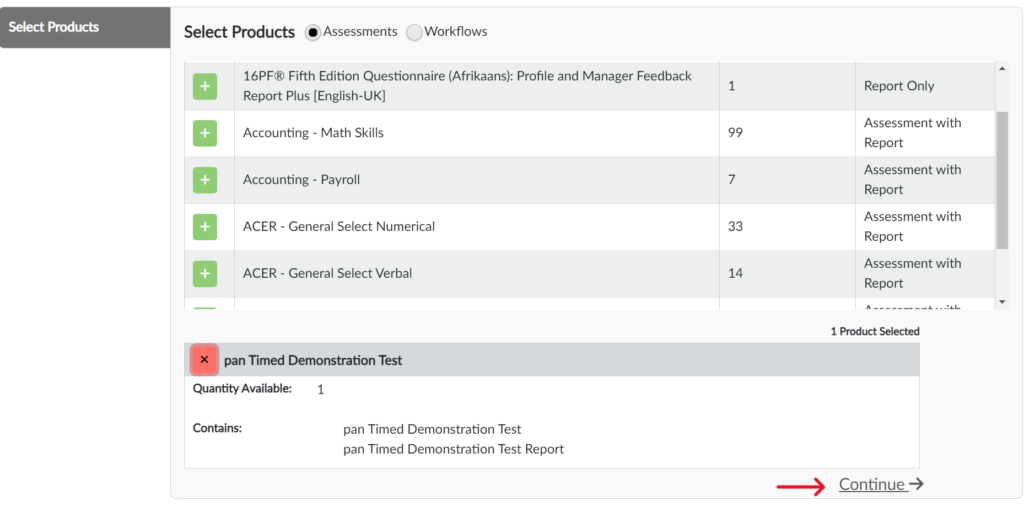
- Click the plus sign (“+”) next to the assessment(s) or workflow(s) you are assigning, then click “Continue.” (Screen 2)
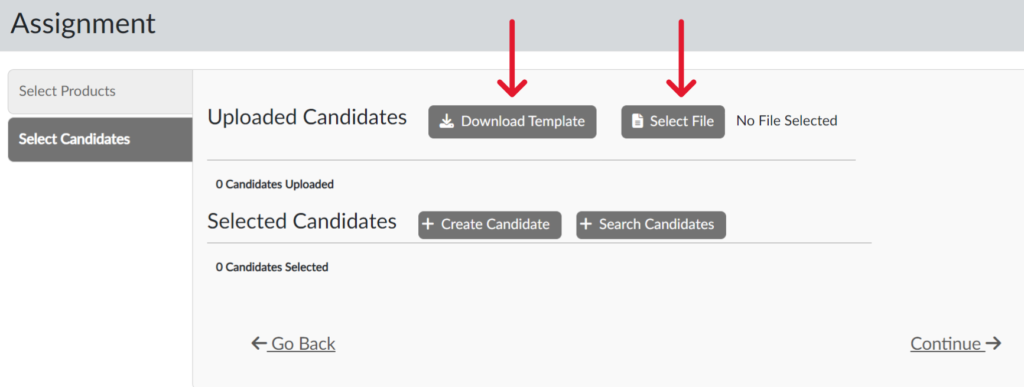
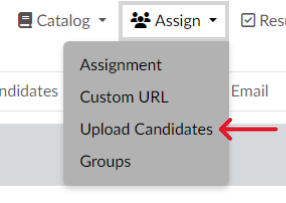
- Next, create accounts for the people (candidates) that will take the assessment(s) by clicking “Upload Candidates.” (Screen 3)
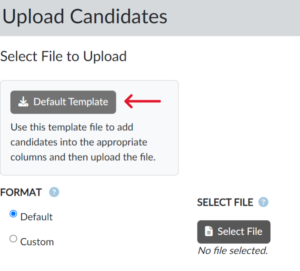
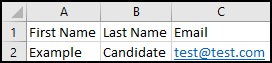
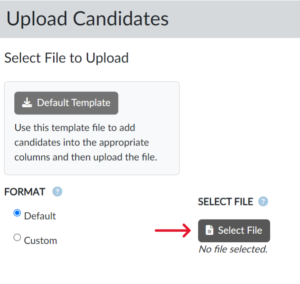
- If you are using the default template, click “Default Template” (Screen 4) and provide the requested information (Screen 5) then save to your desktop.
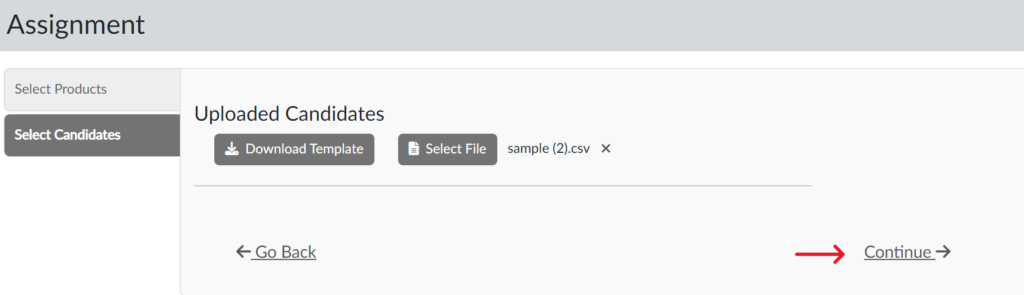
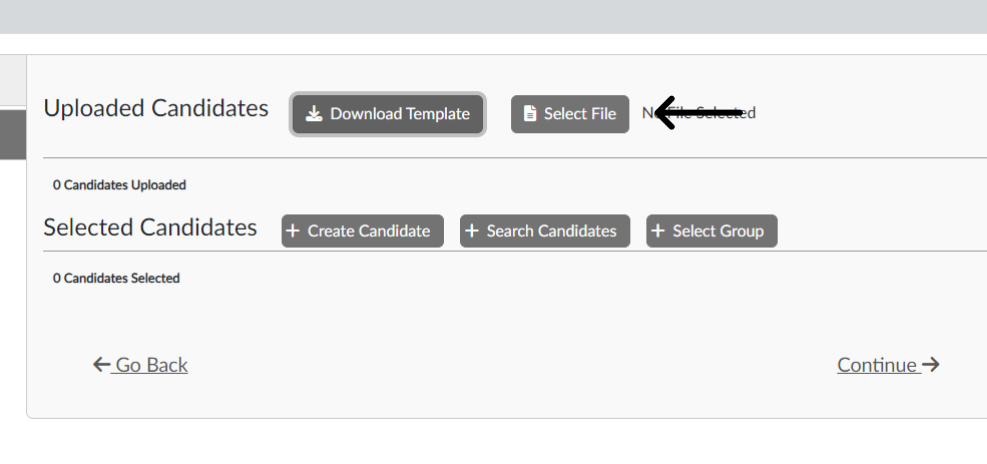
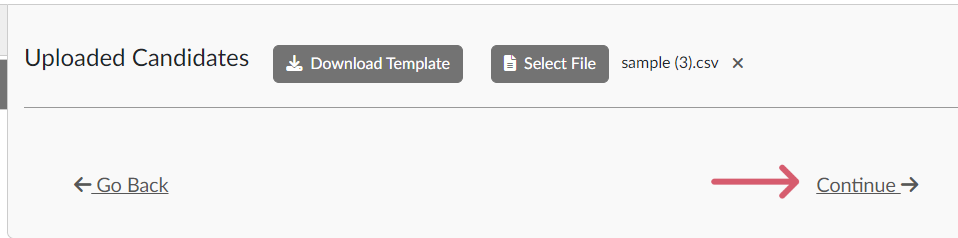
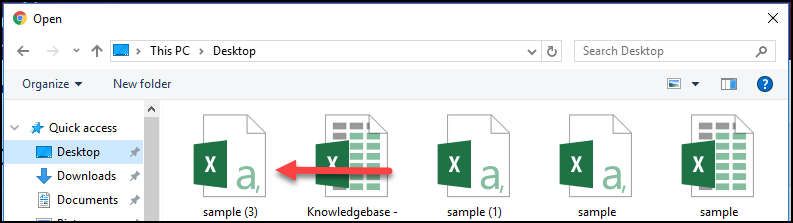
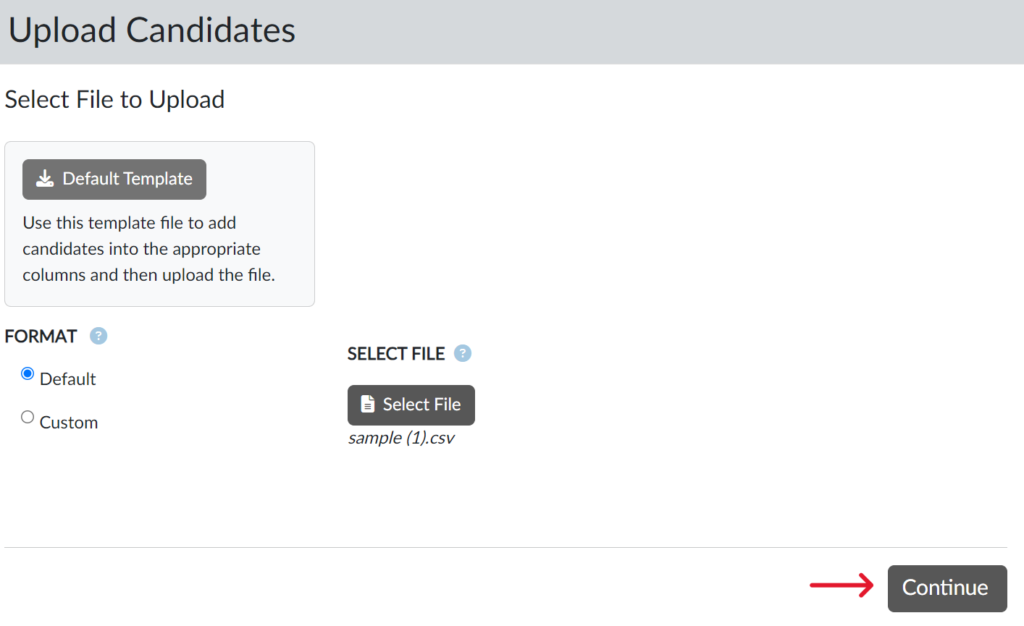
- If you are using a previously created spreadsheet, click “Select File” (Screen 6), choose the desired file (Screen 7) and click “Continue.” (Screen 8)
- If desired, add candidates to a group. Click “Continue.” (Screen 9)
- Click “Upload Candidates.” (Screen 10)


Upload Candidates in Bulk: In Advance of Assignment
- Click “Upload Candidates” under the “Assign” tab. (Screen 1)
- Click “Default Template” or use a previously created spreadsheet. (Screen 2)
- If you use the default template, fill out the required fields and save to your desktop. (Screen 3)
- Click “Select File.” (Screen 4)
- Choose the appropriate file (Screen 5) and click “Continue.” (Screen 6)
- If desired, add candidates to a group, then click “Continue.” (Screen 7)
- Click “Upload Candidates.” (Screen 8)


Note – The above steps will not assign the assessment or workflow. To do so, follow the steps in the How do I assign an assessment to a candidate? or How do I assign a Workflow to a candidate? sections and select “Search Existing” or “Select Group” when choosing candidates.